Wednesday, February 23, 2011

Back from another break! And project complete: Critter Quartet

Well, taking care of a baby full-time while taking classes part-time leaves little room for hobbies. I am hoping to dive back into a smaller project soon but I won't hold my breath. The main issue is that it is difficult to transition between childcare and stained glass. One can't simply drop everything while soldering or glass grinding; there will be lead or sharp glass flecks to clean up first.

Since this blog is a visual endeavor, let's get a picture of the little culprit:


Also, I finished the Critter Quartet back in December but neglected to post about it. This image is washed out and I'll replace it soonish. Heh, I'm certainly a failed blogger at the moment.

Tuesday, October 5, 2010

Project in Progress: (More) Koi

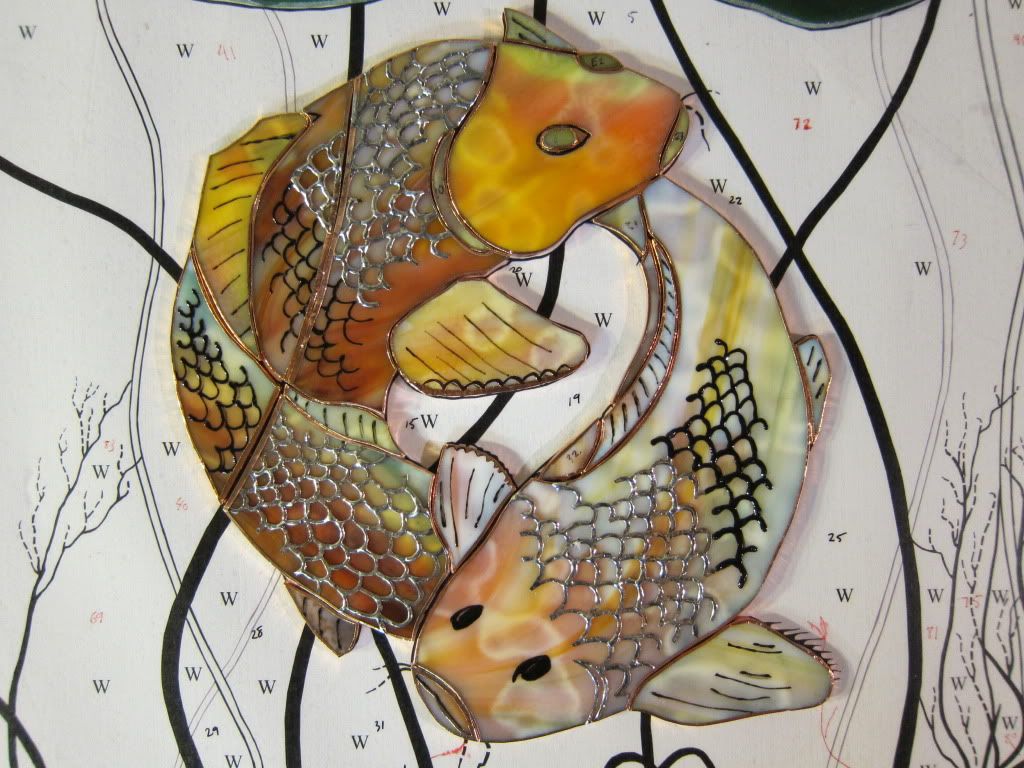
I now have all of the fish pieces done. Some details are done with bake-on paint, and the foil overlay scales have been tinned with solder. Now it's mostly a matter of cutting and grinding, although there will be some things to figure out when I get to the pondgrass wire details.

Click for a close-up!

Project in Progress: Critter Quartet

So I asked my wife Zoe if she wanted me to make her something nice, just for her. Something in stained glass. And at Glass Endeavors she goes to the racks of pattern books and picks out the "10 Pieces or Less!" book. Bah, she's so minimalist!

I will be combining some of them, however, to make something that is both cute (in the mature, sophisticated way that Zoe appreciates, obviously) and also appropriate for a baby theme. That's very appropriate, since we just had a baby 2 weeks ago. ;)

After continuing work on my Koi project, taking a break for this one feels relaxing and trivial. A few of the simpler patterns combined well for a nice larger piece. I've just been using my scrap glass that I already have, and I've cut out almost all the pieces already. They still need grinding, but you get the idea!

Monday, September 20, 2010

Project in Progress: Koi

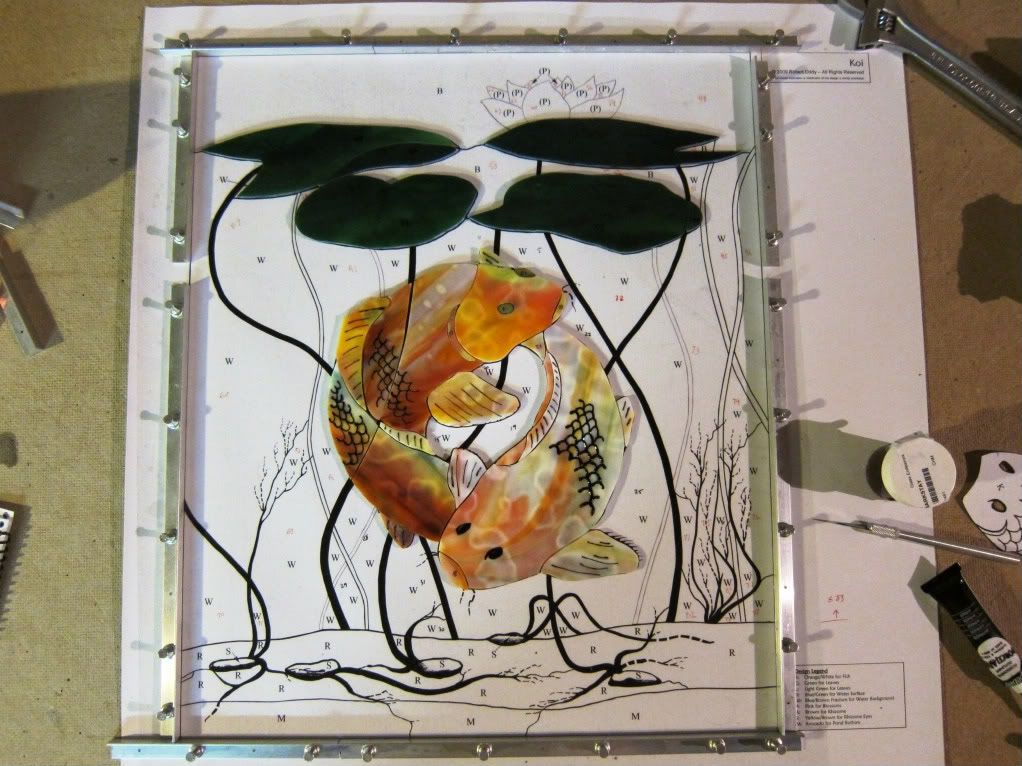
Finishing the Candle got me back into the groove, so I'm now well under way with my latest project. The Koi pattern will be a new challenge in a few ways. Not only does it use a bit of glass plating, but it also has a ton of foil overlay and leaded wire accents. I'll also drill a hole in the glass for one of the fish eyes, rather than just cutting and grinding solid shapes in all my previous work. Finally, there are some details created using bake-on paint.

So far, I have the hardest part mostly done, with the fish pieces cut, ground and painted. I'll need to do a lot more foil overlay on these pieces, but that should go fairly quickly.


Here is the image on the website where I bought the pattern, of the completed project. I think mine will look better! :) To be fair, it's always hard to capture the full effect of a stained glass project with a photo, anyway.

Sunday, September 12, 2010

Been a while...but Project Complete: Medieval Candle

I completed this project a while back but was too lazy to update my blog! But here we go.

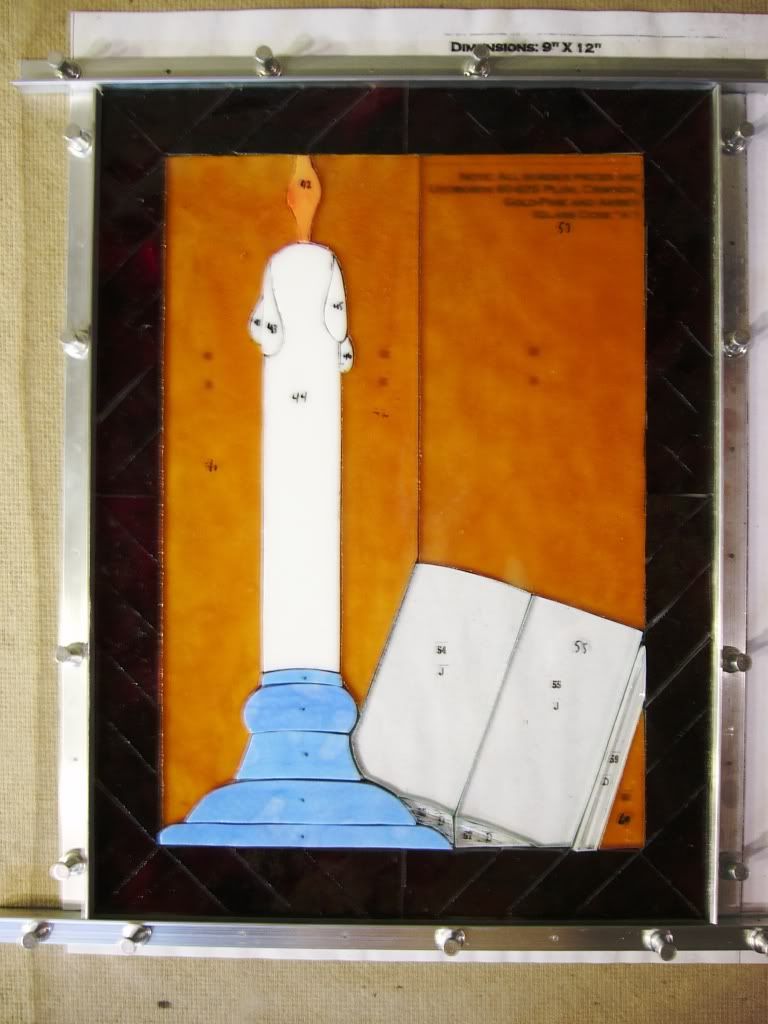
This picture shows the main 2 panels that I plated together. A tiny third piece went on the very back to give a shadow along the left edge of the open book.


And below, you can see the final product! As usual, a lot of the details and subtleties are lost in the picture, like the stacked page effect in the special glass I used for some of the pages, etc.

Friday, May 21, 2010

Quick Update

Well, it's been a while since I posted and a while since I worked on my latest window. The nice weather has made it hard to spend hours of my free time sitting in a dark basement. Still, I'm planning to get back to work in the near future!

Wednesday, April 21, 2010

Project in Progress: Medieval Candle

My current project is a first foray into glass plating. This piece is quite small, but has three layers and 80 pieces in total.

This page from the instructions shows the final piece as it should appear (top image), with several textures and shadows. Notice also the pages from an illuminated manuscript (lower image) that appear in the book within the piece. I liked this effect, which is produced by affixing a transparent copy of the image to the back of the clear front glass.


I've completed cutting and grinding the pieces in the first layer. It's remarkable how visually unappealing it is, but that must be a part of glass plating; the piece will be odd-looking until you finally view the finished product with backlighting.

Notice that the glass of the background appears much more orange than in the picture above. That is an odd aspect of this particular glass - when viewed with backlighting, it really does appear as a mottled, pale yellow.

This piece is going much faster than the Bird Flower project, and I may be finished with it in 2-3 weeks!

Wednesday, April 7, 2010

Project Complete: Bird Flower Painting

I'm finally done with this project and I'm satisfied with how it turned out. The solder lines are much smoother than I'd feared. It generally has a professional look, at least to my non-professional eye. The most frustrating step was actually installing the wooden frame. I've learned something important about guide holes for screws... and how wide they should be.

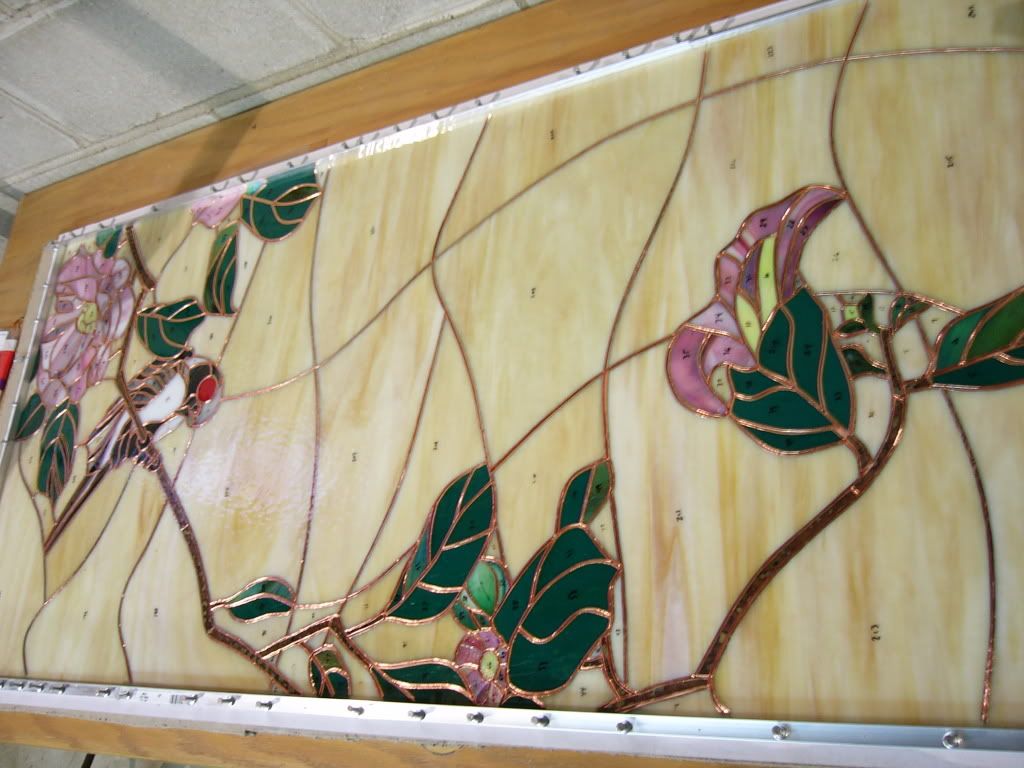
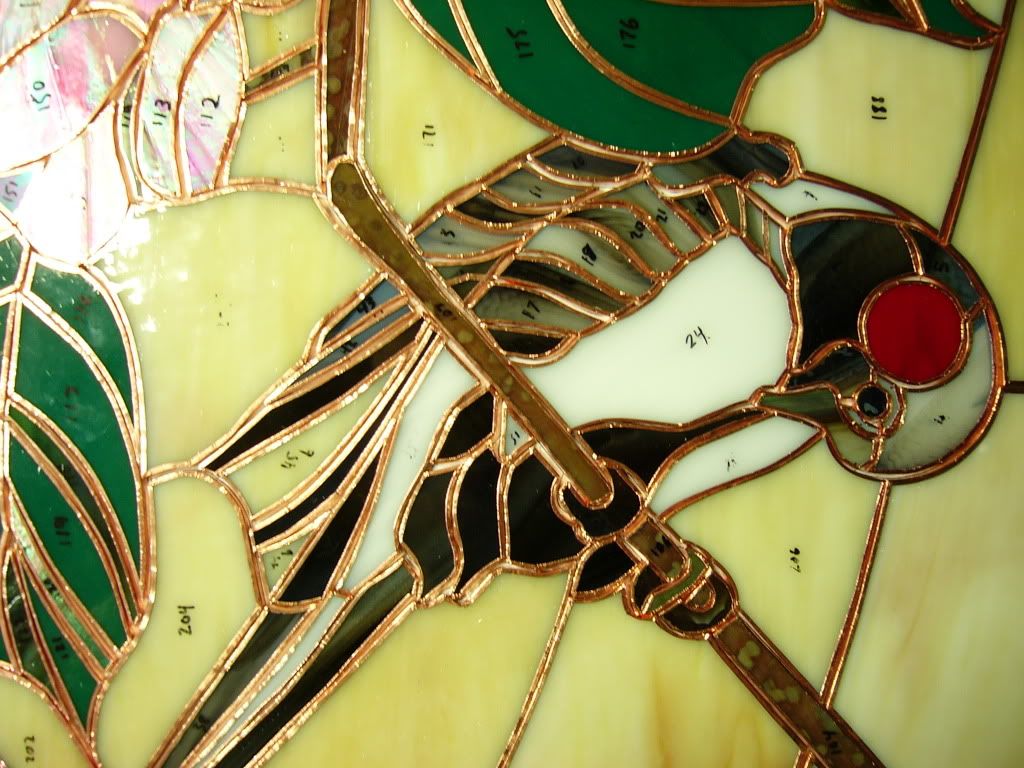
Here is the project after I had finished foiling every piece with 7/32 or 3/16 inch strips of foil. I had to evenly wrap all the edges of glass so about 1 mm of foil overlapped off the edges onto both the front and back of the glass. When two foiled pieces are then placed alongside each other, this creates an "I"-shaped support for the lead solder.

[Click images to enlarge]

This is another close up of the bird section, all foiled this time:


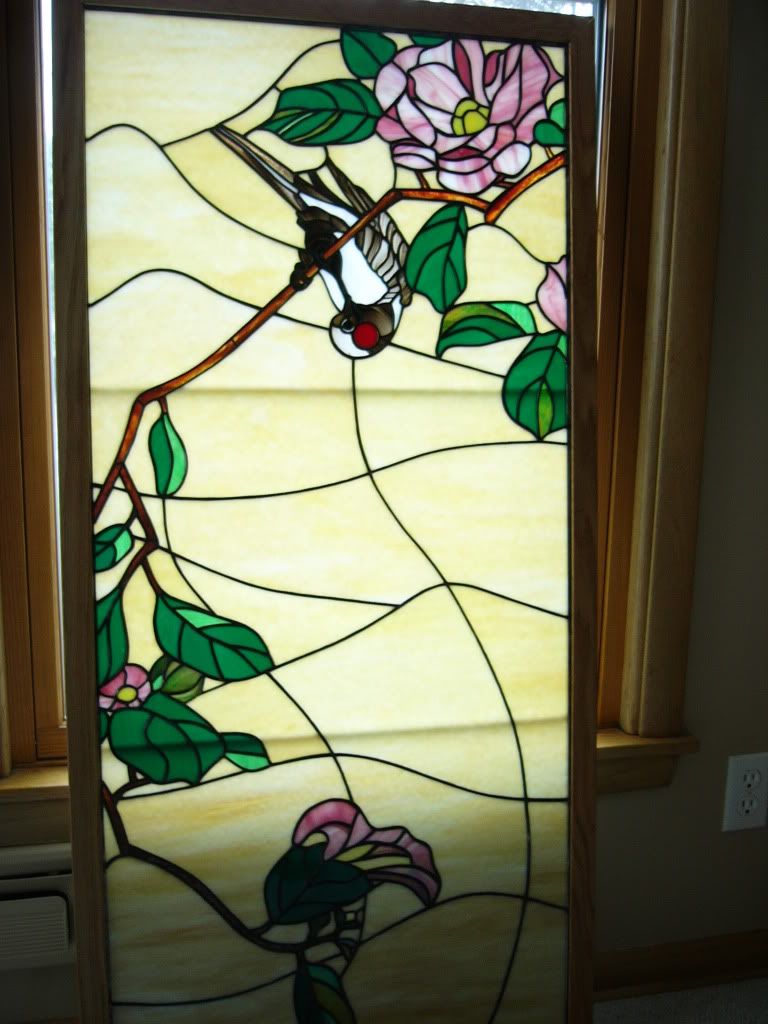
And here is the finished piece. I'd like to get a better shot of it eventually, since this image doesn't show any of the subtleties of the glass whorls and distorts the lighting. The piece is a little more cartoony than I was going for. I think this effect comes mainly from the flat green of the leaves. I should have used an art-glass for the basic leaf color instead, to create a more organic effect.

Friday, April 2, 2010

Glass Endeavors Art Show

I'm hoping to have my Bird Flower project done for the Art Show at Glass Endeavors in a couple weeks. Stained glass enthusiasts from around the Twin Cities can submit projects, which are judged by an independent panel in several categories, including beginner, advanced, mosaic and fused glass. There are prizes, a reception, and other happy stuff.

I'm actually done foiling and soldering my Bird Flower project, and mainly need to patina it and get it into a wooden frame for extra reinforcement. Laziness has led me not to post about each step, but I'll do a final post when I'm done. It's exciting to be almost done.

Technically, I should be calling this project a "Flower Bird Painting" since that's the official translation of the style of Chinese art. See this page for a description of the classical style I'm referring to.

Tuesday, March 23, 2010

Project in Progress: (Even More) Bird Flower Painting

Quick update on the Bird Flower Project. I should have all the pieces foiled soon. It's taking a long time, like every step of this project. I'm excited to move on to less ambitious projects that I can complete faster.

Stained Glass and Modern Art

One thing I like about stained glass: It's hard to ruin a big piece with idiotic "artistic" aspirations.

People who know me very well are familiar with my abject disdain for "modern art." And I'm certainly not alone; this passionate disdain is shared by others. I accept that different people have different tastes, and some enjoy these modern visual oddities. I'd simply ask that they not call it "art." Call it anything else. ("Visually-assisted academic BS" perhaps? This website explores definitions of art much better than I.) For me personally, "art" should at a minimum incorporate one of two things, and ideally both:

1. Be remotely aesthetically pleasing. Not this. Sorry, no.
2. Require more skill to create than a layperson or animal can muster. For example, no. And no.

Granted, some modern art succeeds on both prongs but more often seems to fail on both. This piece by Mark Lawrence is pretty neat.


So, back to my original point. Stained glass is difficult to ruin with grandiose modernity. Even a "minimalist" piece will require a fair amount of effort and resources to make, and the more minimalist it gets, the more it resembles a normal window or an architectural highlight. The modern glass aesthetic also traces its path through people like Frank Lloyd Wright, who made some nifty designs. Furthermore, pieces that follow the modern canvas art traditions still look nice to me, since they inevitably incorporate color and seem more substantial, somehow, than splatters and rectangles on canvas.


In the end, larger stained glass pieces are functional; perhaps they are artistic craft rather than pure art. I tend to like what I see at craft fairs and that may be an insight into my taste and definition of art. Indeed, the Art vs. Craft debate an ongoing affair, so I'll sign out with this essay.

Monday, March 15, 2010

Perils of the Profession

This entry at Joe's Stained glass blog casts an interesting light on what it can mean to do stained glass for a living. It depends on what you want your business to focus on, of course. (And running your own business is an ordeal in itself.) Glass Endeavors seems to be thriving, but they focus on their store, studio space, repair service and classes in addition to doing the odd commission.

I think I'll stick to stained glass as a hobby for the foreseeable future...until I want to charge money for tacky glass memorials to Fluffy the cat.

Wednesday, March 10, 2010

Project in Progress: Leaded Glass Class

To take a small break from my Bird Flower project, I've started my second class at Glass Endeavors. This class will cover the leaded window technique, which is actually completely different from the copper-foil technique I've already learned.

With the copper foil technique, you simply wrap the edges of each piece with adhesive copper foil, lay out all the pieces, and solder them together. With leaded windows, you cut each strip of lead from a pre-extruded length, and assemble the window one piece at a time. Authentic horseshoe nails are used to hold the pieces together during assembly; small pieces of the lead came are set against the edges of glass and nails are used to press them in place.

See the picture below for an example of this technique in progress (source):


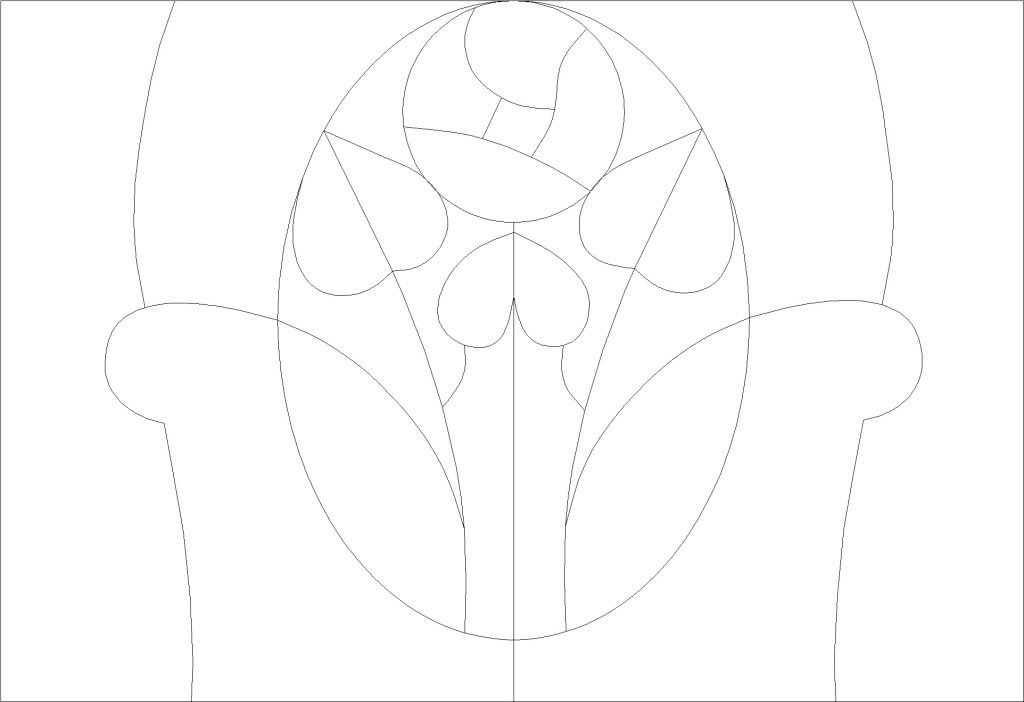
Also, here is the pattern I've chosen for my learning piece. It has a couple pieces that will be challenging to cut, but I like the overall look and want to try it out. For a larger image with much clearer lines, simply click the image below.

Tuesday, March 9, 2010

Project in Progress: (More) Bird Flower Painting

Finally, I have finished cutting and grinding the pieces! This was a pretty epic endeavor. Now I only need to foil, solder, patina and finish each piece. Plus add the frame and the rebar.

Here are all the pieces laid out. Each edge is spaced about 1 mm away from its neighbor. The window is 48'' x 22''.


I like how the foliage came out, and the glass I chose for the wood bark.


Here is the bird hanging out on its branch. Note that this is a sideways shot so it will be hanging upside down in the final pose.

Saturday, February 27, 2010

Project in Progress: Bird Flower Painting

I've been chugging away at my Bird Flower project and I'm finally done with the bird. This picture gives an idea, but there will be more feathery effects in the glass when it's viewed with backlighting. Note that the bird measures about a foot across.


This was the most challenging set of pieces to cut and grind, since there were many irregular and tiny shapes. I had to avoid some of the strangest curves and ruffles in the pattern by revising the lines. Very wavy lines are impractical to cut. They also may add little to the overall pattern. All things considered, I'm very satisfied with how the bird came out. This bird section alone has over 50 pieces; it is nearly as substantial as the Celtic Deer project!

Thursday, February 25, 2010

The Desert Spear by Peter V. Brett + Project Idea

Book 1: The Warded Man

When I read Peter V. Brett's first published novel, The Warded Man, I found it extremely difficult to put down. The premise of the underlying world was straightforward enough, but the character development, action and story line were exciting and compelling. I stayed up far past my bedtime to finish it.

Book 2: The Desert Spear

The next book in the series, The Desert Spear, will be released on April 13. I used my sci-fi/fantasy geek powers to get my hands on an ARC (Advanced Reader Copy), so I finished the book a couple weeks ago. I'd like to write a full glowing review of it but there are no such reviews online at the moment; I don't want to pre-empt whatever marketing strategy the publisher and author would like to employ as the book ramps up to its release date.

I'll say a little, though. I had very high expectations for this sequel. In the course of reading The Desert Spear, my expectations were met - and surpassed quite thoroughly. I would love to get into specifics. Like the first book, I was glued to the page far past my bedtime until I finished it. In some fantasy series, subsequent novels seem to contain filler material to fluff up the latest installment into a full length book. But none of that here! The Desert Spear has a wonderful pace and that rare "unputdownability" that I love in a good book. Great sequel!

Project Idea: Wanderer

In the very long term, I'd love to make a glass plating project based on this series of books. A combination of a few existing images might be interesting. The landscape would be a cropped version of this valley, illuminated by the setting sun. The structure on the far mountain would be changed to old ruins. The sky would meed to be more colorful, and the dark areas would be dark blues, purples, and greens rather than black.

The rider's profile would be along these lines, placed in the foreground and perhaps to the right. I'm thinking the upper half of the horse and rider would be struck by a ray of sunlight. The horse would also need some kind of metallic barding. Finally, I would need wisps of mist rising from the ground on the plain, perhaps shrouding a murky figure with red eyes. I still haven't designed a project from scratch, let alone done glass plating. At this point, I still have no idea what I'm talking about. I do have a suspicion this would be very hard to make. ;)

Tuesday, February 23, 2010

Glass Profile: Uroboros glass brand


My projects take long enough that a daily update isn't practical. For that reason, here is another fun tangential topic: Uroboros brand glass.

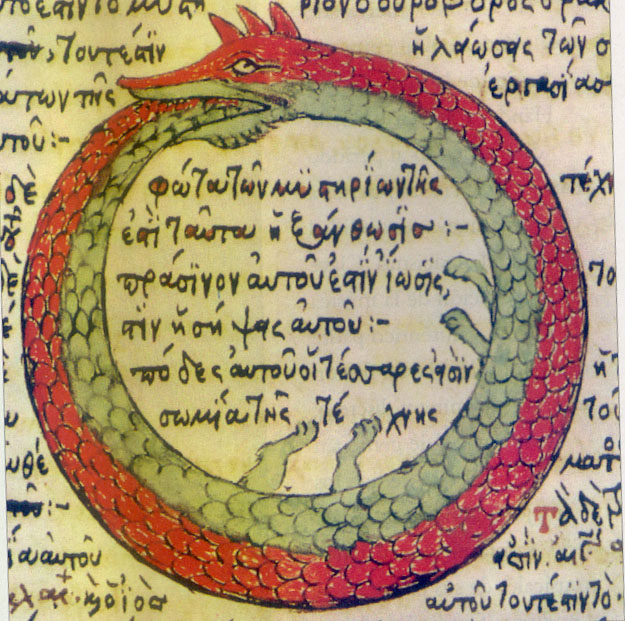
First, I have to give kudos for their company name. The uroboros is an ancient artistic motif, incorporating a serpent or dragon that circles around to bite its own tail. The motif can represent creation, the cyclical nature of time, or infinity. That's just cool.

According to Wikipedia:

"Plato described a self-eating, circular being as the first living thing in the universe—an immortal, perfectly constructed animal.

'The living being had no need of eyes when there was nothing remaining outside him to be seen; nor of ears when there was nothing to be heard; and there was no surrounding atmosphere to be breathed; nor would there have been any use of organs by the help of which he might receive his food or get rid of what he had already digested, since there was nothing which went from him or came into him: for there was nothing beside him. Of design he was created thus...'"
The uroboros symbol also appears in many modern media, including the Wheel of Time fantasy series by Robert Jordan.

The second thing going for the Uroboros glass company is that many high-end patterns recommend their glass for the pieces. The glass is particularly good for organic subject matter, which is what I'm most interested in making. Look at these samples of glass for sale on the Uroboros website:

Wednesday, February 17, 2010

Glass Profile: Silver Staining


A Bit of Art History


Silver staining is what gave rise to the term "stained glass." According to P.E. Michelli:
"Silver stain was fired onto clear glass to produce a translucent yellow - or any colour between murky brown and deep amber. It was discovered around the beginning of the fourteenth century, apparently in France, and was used sparingly at first, and then very creatively to produce local contrasts on coloured glass."

Granted, I'm no art historian. But if you examine older stained glass, you'll see that there are relatively few colors - red, yellow, blue and green. This parallels the paintings and illuminated text of that time. In the Medieval era, the artistic emphasis of stained glass was placed on the painting and staining of relatively simple glass shapes. These were religious icons, made in glass to resemble their painted predecessors as closely as possible.


Silver staining was apparently easier to use than a yellow glass. Also, for the purposes of fine detail, staining gives more flexibility; multiple coatings and firings of the silver stain can enhance the color. In this way, different hues from beige to gold can be achieved on the same piece of glass. Silver staining was also used to turn blue glass into green glass.

Today

Modern silver staining is less common but may still be used for traditional works. There is the occasional contemporary piece, like this close-up of a window by Williams and Byrne.


I would argue that today, while styles of stained glass are much more diverse, there is generally more use of shapes, colors and textures of the glass itself. I don't know that I'd use the silver stain technique. I could simply purchase yellow glass, or plate some yellow glass behind the main layer. Still, it's a fun bit of history!

Tuesday, February 16, 2010

Project In Progress: Bird Flower Painting

Modifying the Pattern

I got this pattern on the right from the Glass Eye website. I liked it a lot...mostly. It may not have the distribution of glass pieces that most stained glass patterns do, but that comes with the Japanese aesthetic of simple forms in open spaces. Still, the large central piece of glass would have to be ridiculously large. In fact, it would have to be over three feet long, with lots of curves cut into the shape. That just isn't practical.


So, I used the demo software to take out some lines and then to add in new curves suggestive of mountains. This conforms to the classic style and breaks up the glass a bit. My new working pattern is on the left.

I still need to decide whether the background should all be one color or a montage of mountain colors. Right now I'm leaning toward all one color. I think without more pieces or background detail, the final window would just look stripey.

So, let's go with a color that evokes aged parchment rather than a stripey mountain range. I think it will still look nice.


Starting the Project


I've cut the pieces for the flowers and leaves, which encompassed more cutting (and grinding) than all my prior experience combined. My skills are already improved. In particular, the flower pieces were a challenge. Not only were the shapes more irregular, but the stripes of each petal had to orient and curve appropriately.

Here are the pieces of the main flower. Note that I'm done grinding the petal pieces, so the edges of each piece should be about a millimeter away from its neighbors.


Finally, here is a view of the the entire pattern. It's about 4 feet long and 2 feet wide. That's much bigger than my next largest project, the Celtic Deer. In fact, I'll need to put in a support brace to keep the glass from crushing itself with its own weight. That will be a new technique to learn!


Monday, February 15, 2010

Project Complete: Celtic Deer


This deer was my second project ever, and I'm very proud of it. The pattern has a nice balance and interesting lines. (Click to enlarge.)

The most enjoyable aspect of making the Celtic Deer was picking out the glass panes and choosing which areas of the glass to cut out for the individual pieces. I like the dappled effect of the forest background, and the colors and textures of the deer. I also like how I incorporated natural variations in the glass for effects like the dark areas of the deer's nose, ears and legs. The tail starts out with the white plume of a normal deer, but then transitions directly into the knot motif. Also, I cut around a natural whorl in the glass to create the iris of the deer eye.