Showing posts with label project complete. Show all posts

Wednesday, February 23, 2011

Back from another break! And project complete: Critter Quartet

Well, taking care of a baby full-time while taking classes part-time leaves little room for hobbies. I am hoping to dive back into a smaller project soon but I won't hold my breath. The main issue is that it is difficult to transition between childcare and stained glass. One can't simply drop everything while soldering or glass grinding; there will be lead or sharp glass flecks to clean up first.

Since this blog is a visual endeavor, let's get a picture of the little culprit:


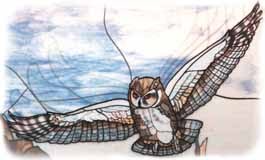
Also, I finished the Critter Quartet back in December but neglected to post about it. This image is washed out and I'll replace it soonish. Heh, I'm certainly a failed blogger at the moment.

Sunday, September 12, 2010

Been a while...but Project Complete: Medieval Candle

I completed this project a while back but was too lazy to update my blog! But here we go.

This picture shows the main 2 panels that I plated together. A tiny third piece went on the very back to give a shadow along the left edge of the open book.


And below, you can see the final product! As usual, a lot of the details and subtleties are lost in the picture, like the stacked page effect in the special glass I used for some of the pages, etc.

Wednesday, April 7, 2010

Project Complete: Bird Flower Painting

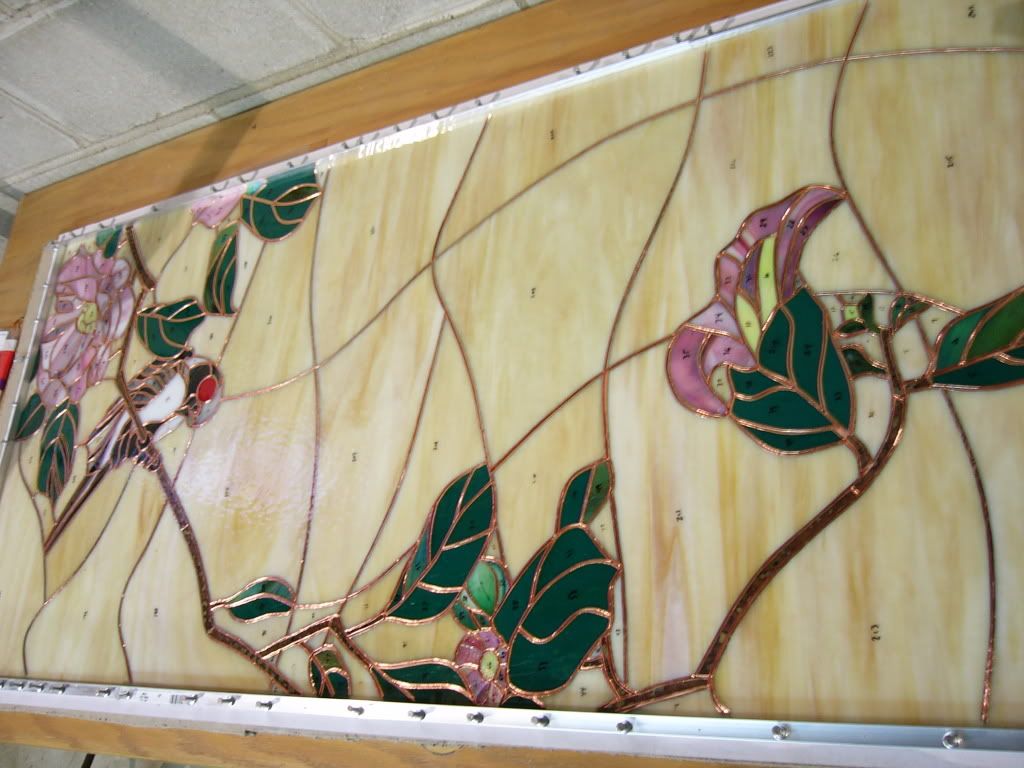
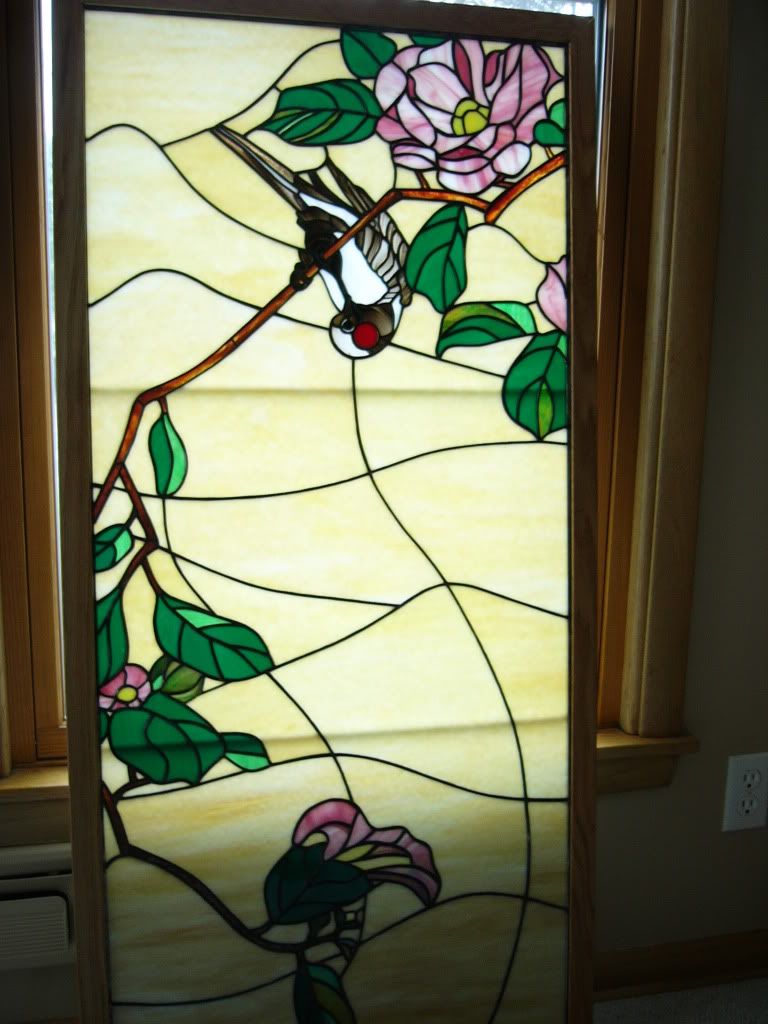
I'm finally done with this project and I'm satisfied with how it turned out. The solder lines are much smoother than I'd feared. It generally has a professional look, at least to my non-professional eye. The most frustrating step was actually installing the wooden frame. I've learned something important about guide holes for screws... and how wide they should be.

Here is the project after I had finished foiling every piece with 7/32 or 3/16 inch strips of foil. I had to evenly wrap all the edges of glass so about 1 mm of foil overlapped off the edges onto both the front and back of the glass. When two foiled pieces are then placed alongside each other, this creates an "I"-shaped support for the lead solder.

[Click images to enlarge]

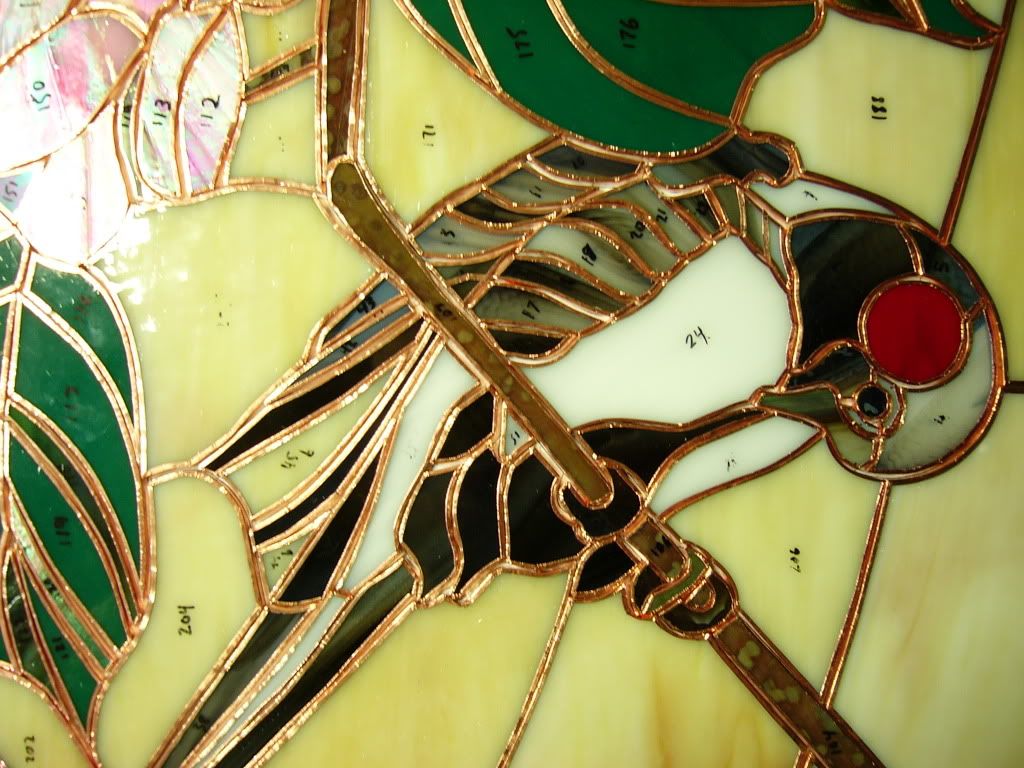
This is another close up of the bird section, all foiled this time:


And here is the finished piece. I'd like to get a better shot of it eventually, since this image doesn't show any of the subtleties of the glass whorls and distorts the lighting. The piece is a little more cartoony than I was going for. I think this effect comes mainly from the flat green of the leaves. I should have used an art-glass for the basic leaf color instead, to create a more organic effect.

Monday, February 15, 2010

Project Complete: Celtic Deer


This deer was my second project ever, and I'm very proud of it. The pattern has a nice balance and interesting lines. (Click to enlarge.)

The most enjoyable aspect of making the Celtic Deer was picking out the glass panes and choosing which areas of the glass to cut out for the individual pieces. I like the dappled effect of the forest background, and the colors and textures of the deer. I also like how I incorporated natural variations in the glass for effects like the dark areas of the deer's nose, ears and legs. The tail starts out with the white plume of a normal deer, but then transitions directly into the knot motif. Also, I cut around a natural whorl in the glass to create the iris of the deer eye.

Saturday, February 13, 2010

Project Complete: Iris


This iris is the simple piece I made in my first stained glass class. I still haven't washed off the numbers, but you get the idea.
I learned all the techniques while making this project - pattern preparation, cutting, grinding, foiling, soldering, and applying the patina. The solder lines are thicker than they could be because I cut the glass too small, and there are other minor issues, but overall I'm happy with it. Still, I don't intend to make anything this simple again. I really like the look of larger, more complex patterns.