Showing posts with label project in progress. Show all posts

Tuesday, October 5, 2010

Project in Progress: Critter Quartet

So I asked my wife Zoe if she wanted me to make her something nice, just for her. Something in stained glass. And at Glass Endeavors she goes to the racks of pattern books and picks out the "10 Pieces or Less!" book. Bah, she's so minimalist!

I will be combining some of them, however, to make something that is both cute (in the mature, sophisticated way that Zoe appreciates, obviously) and also appropriate for a baby theme. That's very appropriate, since we just had a baby 2 weeks ago. ;)

After continuing work on my Koi project, taking a break for this one feels relaxing and trivial. A few of the simpler patterns combined well for a nice larger piece. I've just been using my scrap glass that I already have, and I've cut out almost all the pieces already. They still need grinding, but you get the idea!

Monday, September 20, 2010

Project in Progress: Koi

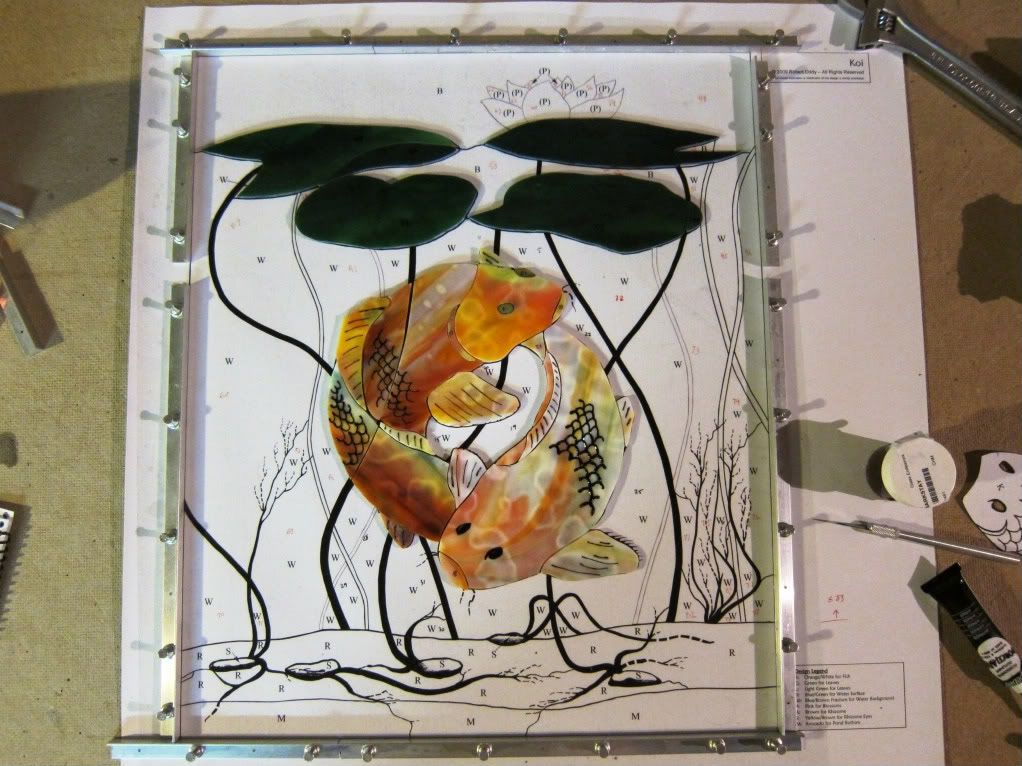
Finishing the Candle got me back into the groove, so I'm now well under way with my latest project. The Koi pattern will be a new challenge in a few ways. Not only does it use a bit of glass plating, but it also has a ton of foil overlay and leaded wire accents. I'll also drill a hole in the glass for one of the fish eyes, rather than just cutting and grinding solid shapes in all my previous work. Finally, there are some details created using bake-on paint.

So far, I have the hardest part mostly done, with the fish pieces cut, ground and painted. I'll need to do a lot more foil overlay on these pieces, but that should go fairly quickly.


Here is the image on the website where I bought the pattern, of the completed project. I think mine will look better! :) To be fair, it's always hard to capture the full effect of a stained glass project with a photo, anyway.

Wednesday, April 21, 2010

Project in Progress: Medieval Candle

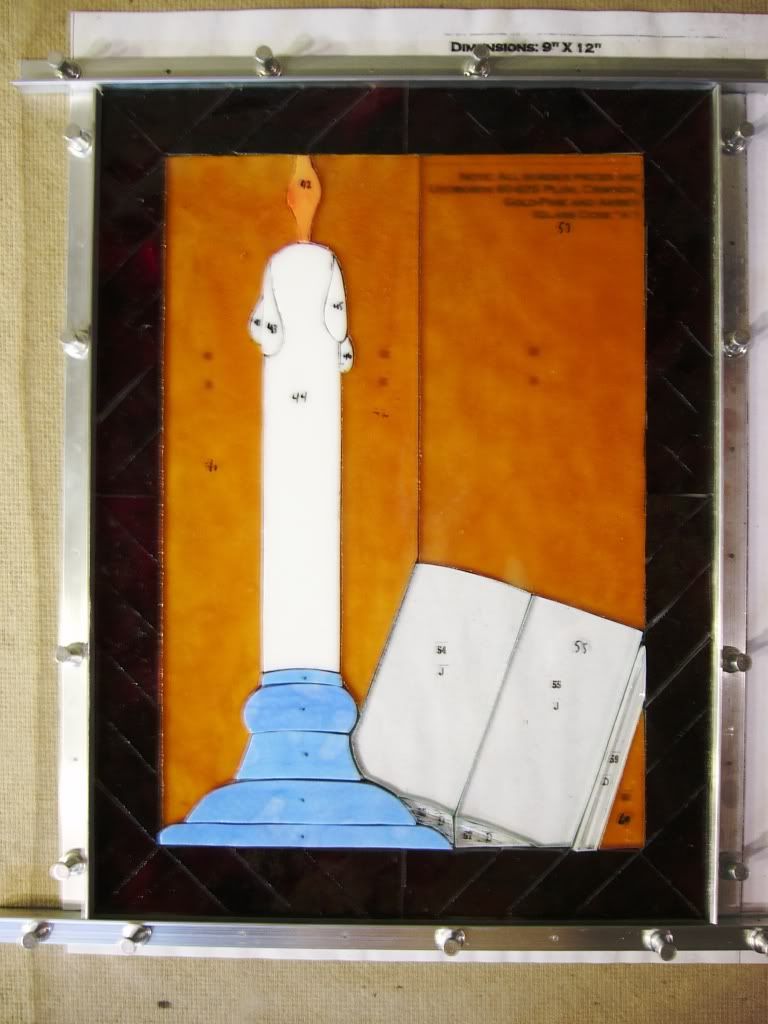
My current project is a first foray into glass plating. This piece is quite small, but has three layers and 80 pieces in total.

This page from the instructions shows the final piece as it should appear (top image), with several textures and shadows. Notice also the pages from an illuminated manuscript (lower image) that appear in the book within the piece. I liked this effect, which is produced by affixing a transparent copy of the image to the back of the clear front glass.


I've completed cutting and grinding the pieces in the first layer. It's remarkable how visually unappealing it is, but that must be a part of glass plating; the piece will be odd-looking until you finally view the finished product with backlighting.

Notice that the glass of the background appears much more orange than in the picture above. That is an odd aspect of this particular glass - when viewed with backlighting, it really does appear as a mottled, pale yellow.

This piece is going much faster than the Bird Flower project, and I may be finished with it in 2-3 weeks!

Tuesday, March 23, 2010

Project in Progress: (Even More) Bird Flower Painting

Quick update on the Bird Flower Project. I should have all the pieces foiled soon. It's taking a long time, like every step of this project. I'm excited to move on to less ambitious projects that I can complete faster.

Wednesday, March 10, 2010

Project in Progress: Leaded Glass Class

To take a small break from my Bird Flower project, I've started my second class at Glass Endeavors. This class will cover the leaded window technique, which is actually completely different from the copper-foil technique I've already learned.

With the copper foil technique, you simply wrap the edges of each piece with adhesive copper foil, lay out all the pieces, and solder them together. With leaded windows, you cut each strip of lead from a pre-extruded length, and assemble the window one piece at a time. Authentic horseshoe nails are used to hold the pieces together during assembly; small pieces of the lead came are set against the edges of glass and nails are used to press them in place.

See the picture below for an example of this technique in progress (source):


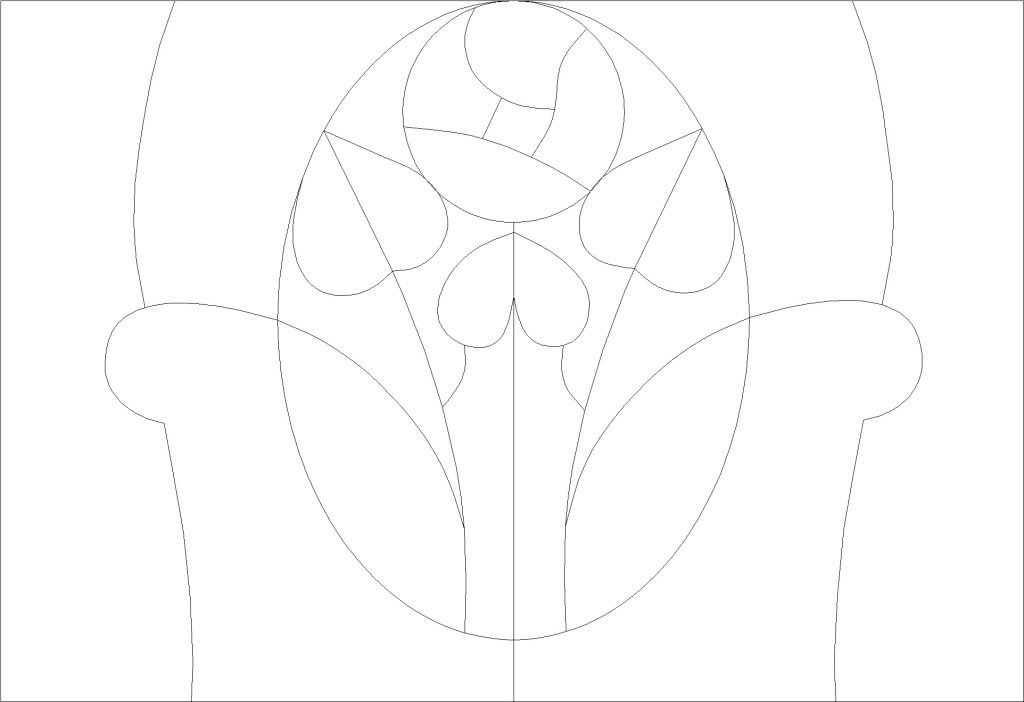
Also, here is the pattern I've chosen for my learning piece. It has a couple pieces that will be challenging to cut, but I like the overall look and want to try it out. For a larger image with much clearer lines, simply click the image below.

Tuesday, March 9, 2010

Project in Progress: (More) Bird Flower Painting

Finally, I have finished cutting and grinding the pieces! This was a pretty epic endeavor. Now I only need to foil, solder, patina and finish each piece. Plus add the frame and the rebar.

Here are all the pieces laid out. Each edge is spaced about 1 mm away from its neighbor. The window is 48'' x 22''.


I like how the foliage came out, and the glass I chose for the wood bark.


Here is the bird hanging out on its branch. Note that this is a sideways shot so it will be hanging upside down in the final pose.

Saturday, February 27, 2010

Project in Progress: Bird Flower Painting

I've been chugging away at my Bird Flower project and I'm finally done with the bird. This picture gives an idea, but there will be more feathery effects in the glass when it's viewed with backlighting. Note that the bird measures about a foot across.


This was the most challenging set of pieces to cut and grind, since there were many irregular and tiny shapes. I had to avoid some of the strangest curves and ruffles in the pattern by revising the lines. Very wavy lines are impractical to cut. They also may add little to the overall pattern. All things considered, I'm very satisfied with how the bird came out. This bird section alone has over 50 pieces; it is nearly as substantial as the Celtic Deer project!

Tuesday, February 16, 2010

Project In Progress: Bird Flower Painting

Modifying the Pattern

I got this pattern on the right from the Glass Eye website. I liked it a lot...mostly. It may not have the distribution of glass pieces that most stained glass patterns do, but that comes with the Japanese aesthetic of simple forms in open spaces. Still, the large central piece of glass would have to be ridiculously large. In fact, it would have to be over three feet long, with lots of curves cut into the shape. That just isn't practical.


So, I used the demo software to take out some lines and then to add in new curves suggestive of mountains. This conforms to the classic style and breaks up the glass a bit. My new working pattern is on the left.

I still need to decide whether the background should all be one color or a montage of mountain colors. Right now I'm leaning toward all one color. I think without more pieces or background detail, the final window would just look stripey.

So, let's go with a color that evokes aged parchment rather than a stripey mountain range. I think it will still look nice.


Starting the Project


I've cut the pieces for the flowers and leaves, which encompassed more cutting (and grinding) than all my prior experience combined. My skills are already improved. In particular, the flower pieces were a challenge. Not only were the shapes more irregular, but the stripes of each petal had to orient and curve appropriately.

Here are the pieces of the main flower. Note that I'm done grinding the petal pieces, so the edges of each piece should be about a millimeter away from its neighbors.


Finally, here is a view of the the entire pattern. It's about 4 feet long and 2 feet wide. That's much bigger than my next largest project, the Celtic Deer. In fact, I'll need to put in a support brace to keep the glass from crushing itself with its own weight. That will be a new technique to learn!