Tuesday, October 5, 2010

Project in Progress: Critter Quartet

So I asked my wife Zoe if she wanted me to make her something nice, just for her. Something in stained glass. And at Glass Endeavors she goes to the racks of pattern books and picks out the "10 Pieces or Less!" book. Bah, she's so minimalist!

I will be combining some of them, however, to make something that is both cute (in the mature, sophisticated way that Zoe appreciates, obviously) and also appropriate for a baby theme. That's very appropriate, since we just had a baby 2 weeks ago. ;)

After continuing work on my Koi project, taking a break for this one feels relaxing and trivial. A few of the simpler patterns combined well for a nice larger piece. I've just been using my scrap glass that I already have, and I've cut out almost all the pieces already. They still need grinding, but you get the idea!

Monday, September 20, 2010

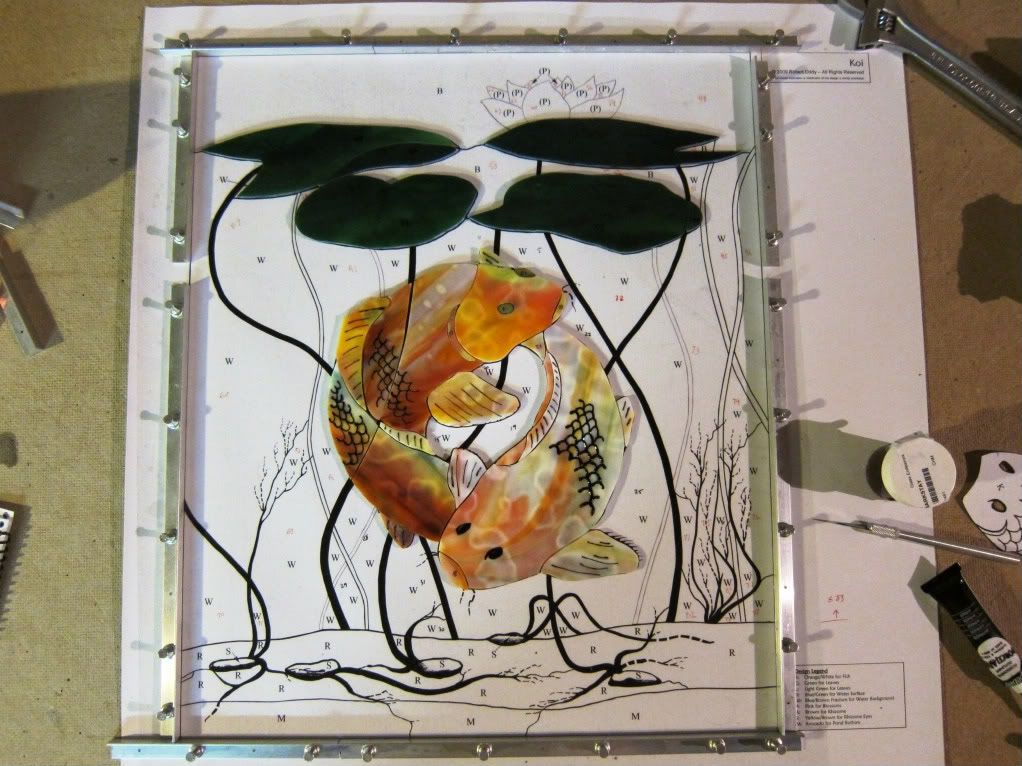
Project in Progress: Koi

Finishing the Candle got me back into the groove, so I'm now well under way with my latest project. The Koi pattern will be a new challenge in a few ways. Not only does it use a bit of glass plating, but it also has a ton of foil overlay and leaded wire accents. I'll also drill a hole in the glass for one of the fish eyes, rather than just cutting and grinding solid shapes in all my previous work. Finally, there are some details created using bake-on paint.

So far, I have the hardest part mostly done, with the fish pieces cut, ground and painted. I'll need to do a lot more foil overlay on these pieces, but that should go fairly quickly.


Here is the image on the website where I bought the pattern, of the completed project. I think mine will look better! :) To be fair, it's always hard to capture the full effect of a stained glass project with a photo, anyway.

Sunday, September 12, 2010

Been a while...but Project Complete: Medieval Candle

I completed this project a while back but was too lazy to update my blog! But here we go.

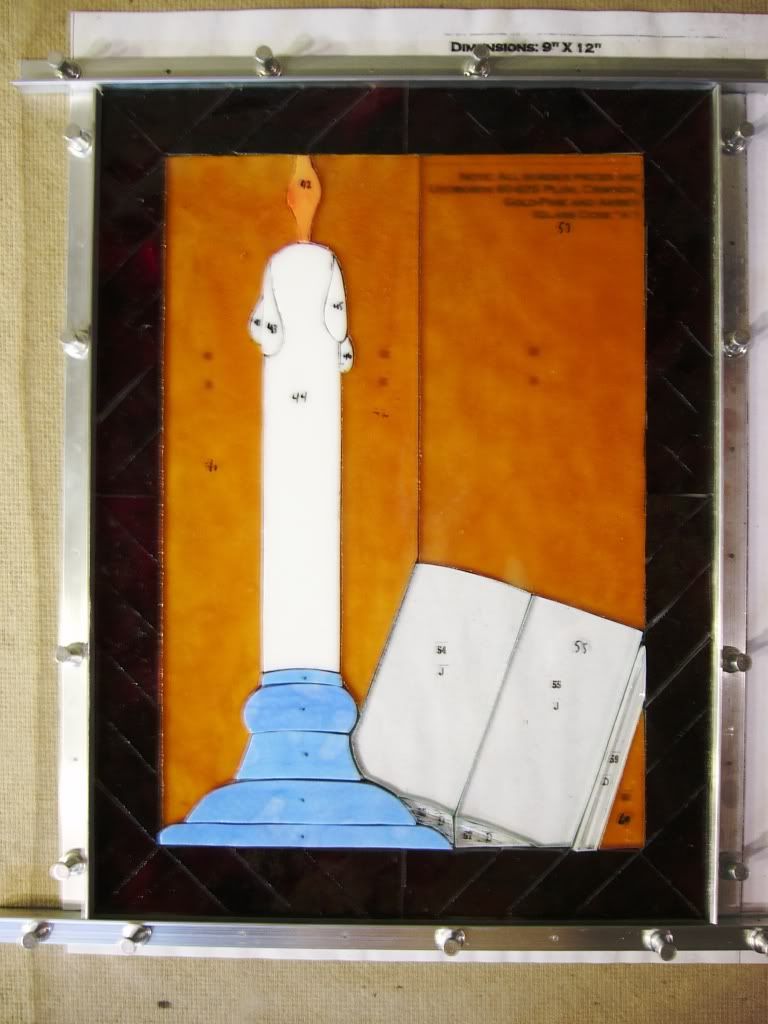
This picture shows the main 2 panels that I plated together. A tiny third piece went on the very back to give a shadow along the left edge of the open book.


And below, you can see the final product! As usual, a lot of the details and subtleties are lost in the picture, like the stacked page effect in the special glass I used for some of the pages, etc.

Friday, May 21, 2010

Quick Update

Well, it's been a while since I posted and a while since I worked on my latest window. The nice weather has made it hard to spend hours of my free time sitting in a dark basement. Still, I'm planning to get back to work in the near future!

Wednesday, April 21, 2010

Project in Progress: Medieval Candle

My current project is a first foray into glass plating. This piece is quite small, but has three layers and 80 pieces in total.

This page from the instructions shows the final piece as it should appear (top image), with several textures and shadows. Notice also the pages from an illuminated manuscript (lower image) that appear in the book within the piece. I liked this effect, which is produced by affixing a transparent copy of the image to the back of the clear front glass.


I've completed cutting and grinding the pieces in the first layer. It's remarkable how visually unappealing it is, but that must be a part of glass plating; the piece will be odd-looking until you finally view the finished product with backlighting.

Notice that the glass of the background appears much more orange than in the picture above. That is an odd aspect of this particular glass - when viewed with backlighting, it really does appear as a mottled, pale yellow.

This piece is going much faster than the Bird Flower project, and I may be finished with it in 2-3 weeks!

Wednesday, April 7, 2010

Project Complete: Bird Flower Painting

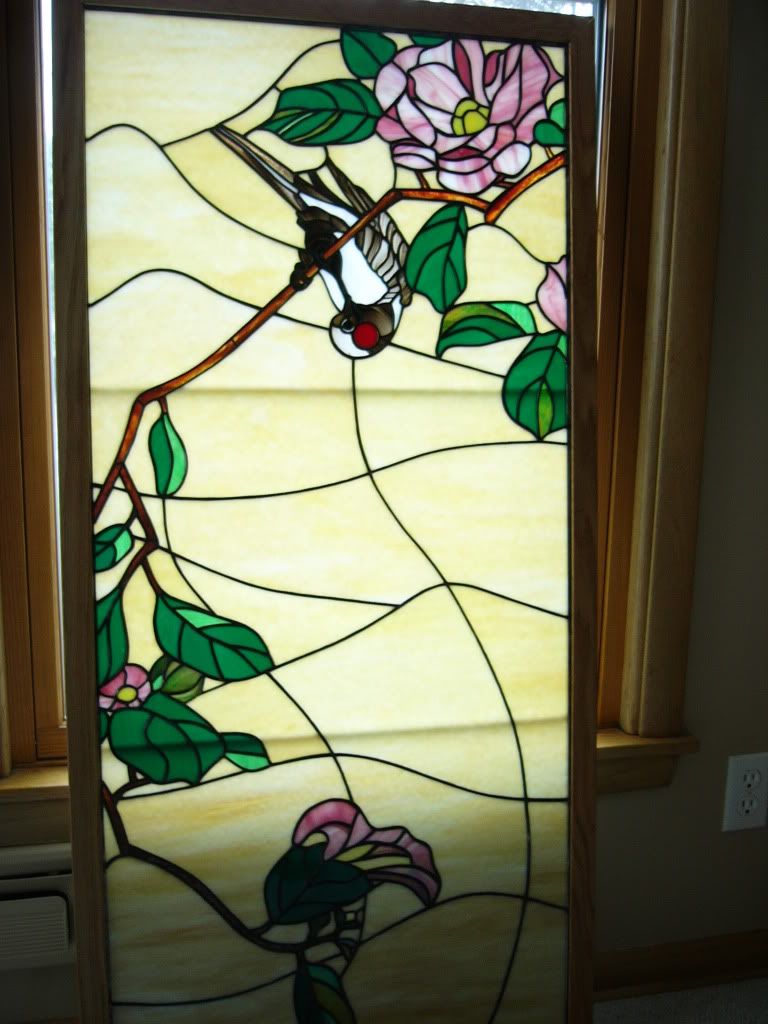
I'm finally done with this project and I'm satisfied with how it turned out. The solder lines are much smoother than I'd feared. It generally has a professional look, at least to my non-professional eye. The most frustrating step was actually installing the wooden frame. I've learned something important about guide holes for screws... and how wide they should be.

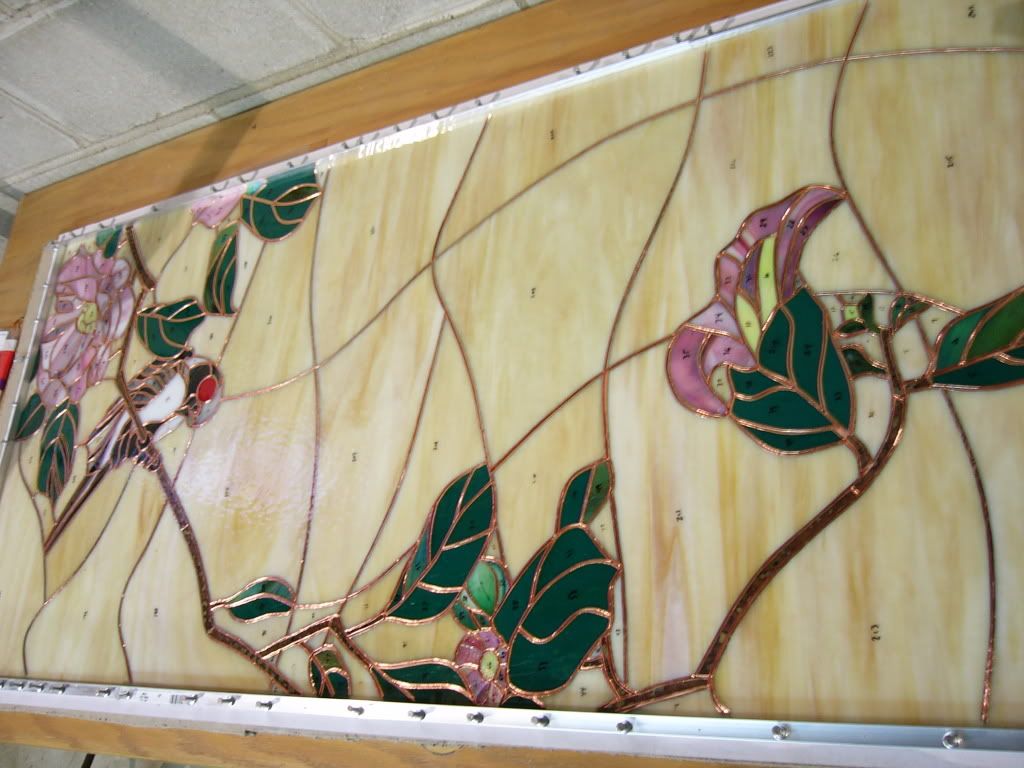
Here is the project after I had finished foiling every piece with 7/32 or 3/16 inch strips of foil. I had to evenly wrap all the edges of glass so about 1 mm of foil overlapped off the edges onto both the front and back of the glass. When two foiled pieces are then placed alongside each other, this creates an "I"-shaped support for the lead solder.

[Click images to enlarge]

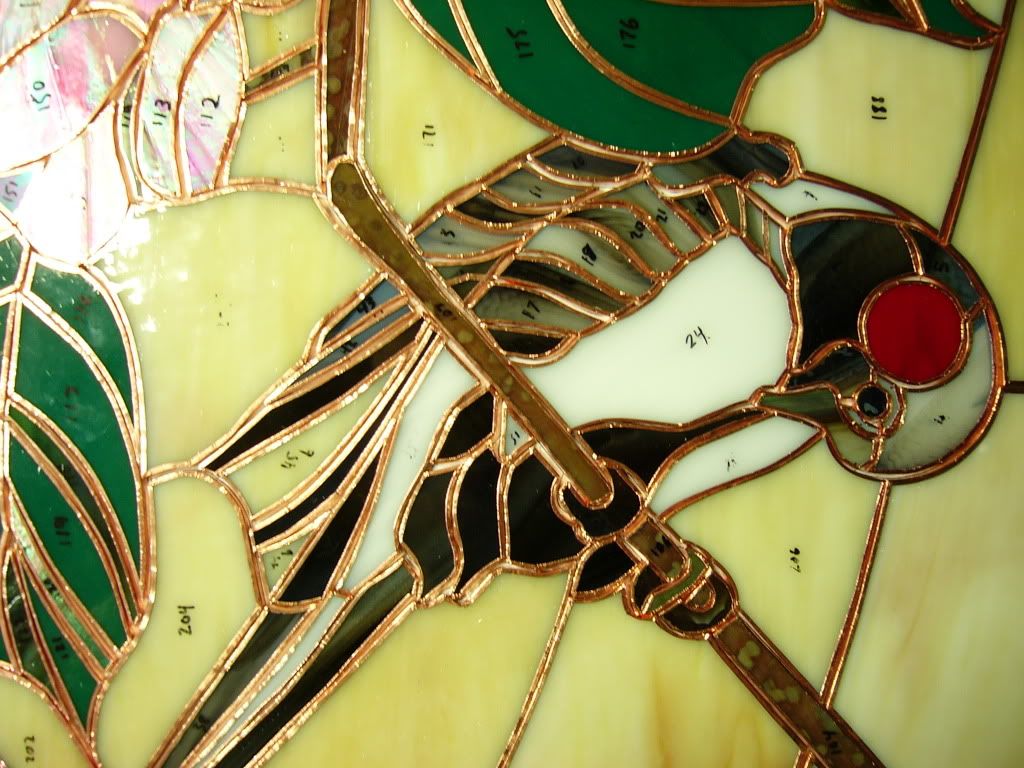
This is another close up of the bird section, all foiled this time:


And here is the finished piece. I'd like to get a better shot of it eventually, since this image doesn't show any of the subtleties of the glass whorls and distorts the lighting. The piece is a little more cartoony than I was going for. I think this effect comes mainly from the flat green of the leaves. I should have used an art-glass for the basic leaf color instead, to create a more organic effect.

Friday, April 2, 2010

Glass Endeavors Art Show

I'm hoping to have my Bird Flower project done for the Art Show at Glass Endeavors in a couple weeks. Stained glass enthusiasts from around the Twin Cities can submit projects, which are judged by an independent panel in several categories, including beginner, advanced, mosaic and fused glass. There are prizes, a reception, and other happy stuff.

I'm actually done foiling and soldering my Bird Flower project, and mainly need to patina it and get it into a wooden frame for extra reinforcement. Laziness has led me not to post about each step, but I'll do a final post when I'm done. It's exciting to be almost done.

Technically, I should be calling this project a "Flower Bird Painting" since that's the official translation of the style of Chinese art. See this page for a description of the classical style I'm referring to.